
So what is a smart way of using digital scrapbooking stamps and paint to give a page a Mixed Media Twist and what is it that makes a good ephemera cluster?
These are questions that I've been asked and I thought you might find my insight helpful.
Take a peek at the up and coming August Build Your Own Collection at the LilyPad. It's called Wonderful You and it celebrates us exactly as we are, quirks and all and is a fab all rounder and everyday kinda collection.
I used Wonderful You to create a page that would help me walk you through these tips and I hope you find them helpful.

Stamps and paint can help the eye to wander and to create flow, they assist in creating shape and extending extend lines, and they can also fill empty space plus add beautiful texture.
When choosing digital stamps for your pages look for variety. Select different stamps to add texture and interest and those that will draw out areas of your composition that already exist.
For variety look out for text fragments, splatters, defined pattern stamps like stars or dots, scribbles and abstract marks that include lines.
Study your page and look for areas that can be 'drawn out' by adding some stamps. We can exaggerate lines or areas by making them longer or wider by adding marks and stamps
A good ephemera cluster doesn't detract from your photograph or main focal point and is great for adding contrast and depth. It can also help to create shape and movement when paper bits are stacked and are lying at different angles with each other.
Consider your colours and ensure they compliment or just add some needed contrast to your photograph or the main focal point to your page. Neutral or monochrome colours are a good starting point. Again, consider using a variety of different types of ephemera to add texture and interest.
For variety within your ephemera type elements look for tickets or papers that contain text, and then also items that have pattern or print. Personally I love to add pops of black and white for contrast but it depends on your page what will suit, it's just a matter of experimenting
In my page I have used the paper scraps/ephemera to add a little extra height behind my photo and to create depth by layering at least three or four paper items. I also took the liberty of a few extra little things peeking between my clusters and a piece of fabric poking out of the side to add a different texture to the paper stacks.
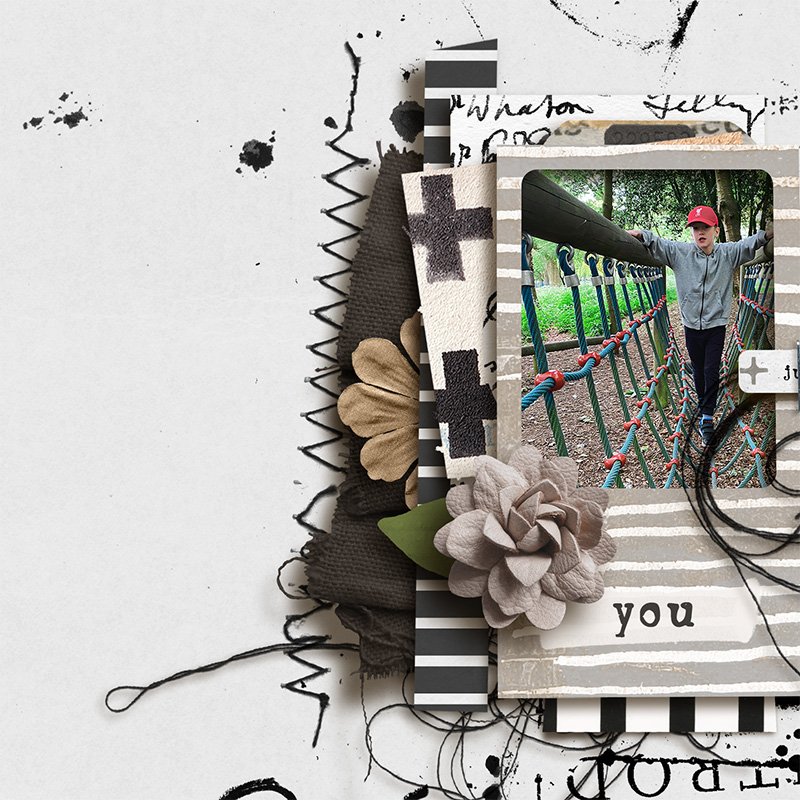
Don't forget about 'dressing your cluster up', I like to add trailing threads, bits of stitching and scattered sequins or beads so that things are not so rigid or uniform.
Here is a short video showing my layout without my paper stacks and stamps and what a difference they make and how they can create shape. I make reference to our July Mixed Media Challenge at the LilyPad where we will be practising these techniques this month, you can find that here and I'd love it if you can join us!
Here are some other examples of paper stacks working really well and how stamps have been used to create strong composition and add texture.
I created this additional layout after I made this video with the new Stellar Memory Pockets Monthly and my New Stellar Add ons.
Whilst the ephemera cluster in this one is simplistic I used the techniques to elongate my composition away from my photo towards the area of white space.

Aly has used ephemera to create simple clusters to mount her photos and kept the colours minimal.
She has used a combo of plain tickets, some including text and some pattern and pops of blue. Coupled with a combo of botanical stamps, splatters, text fragments and a bold dimensional cluster and just a few trailing threads and scatters, her ephemera and stamps add so much to her page.

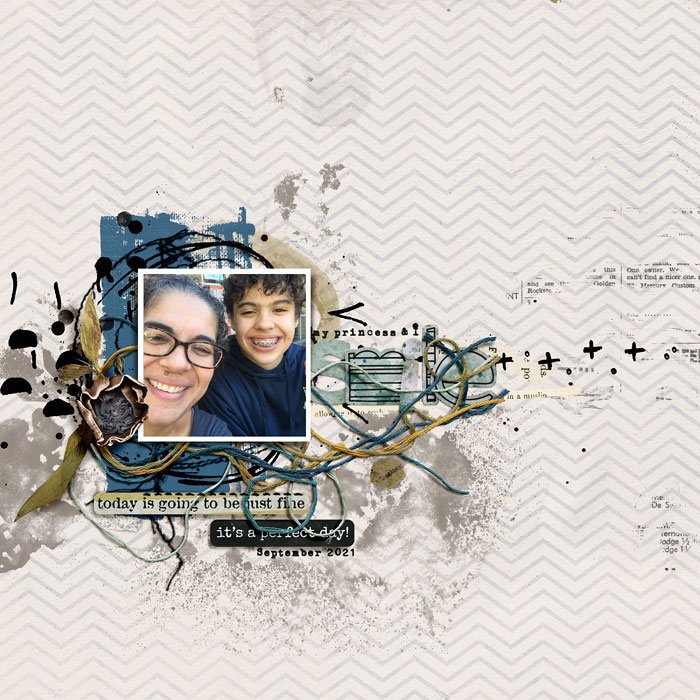
Dalis uses a combination of circular motions around her photo and then uses the strings, stamps, word art and stamps to elongate along the width of the page.
The ultimate cluster from Sheri!
A great mix of pattern and print and a minimal colour palette coupled with lovely long trailing strips of paper to elongate the page, text stamps, arrows and paint to elongate and add texture and movement, trailing threads and a sprinkling of elements to finish.
So much gorgeous stacking here and the stamps and paint on the painted background finish it off so perfectly.
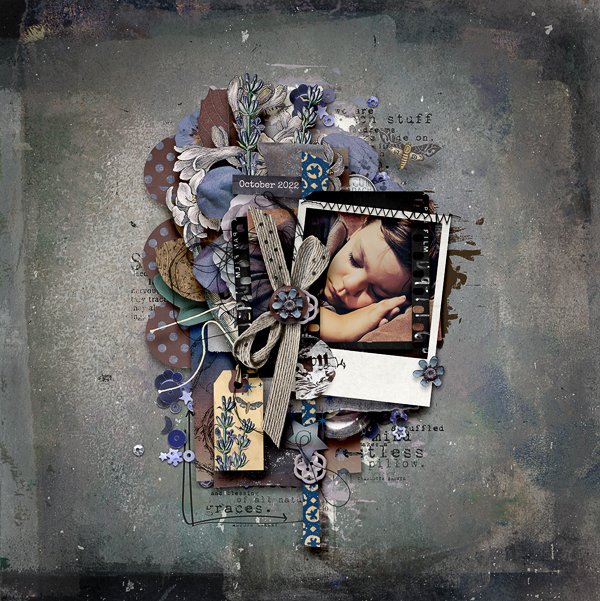
Peace and serenity here from Marijke.
A more minimal example but oh so artsy with gorgeous ephemera layered intentionally to mount the top and bottom of the photo allowing it space to breathe.
She has used minimal stamps around the bottom and the corners beautifully and in an unimposing way. Everything is carefully placed just to to add just the right amount of stark black contrast and a little extra interest and texture to an otherwise perfect page.

And last but by no means least, a gorgeous page by Roxana who dared to go bold with those gorgeous white stamps contrasting with her dark background.
I love how she also used that tall piece of grass so cleverly to draw attention to the crop of the photo and where we should be drawing out attention to!

If you missed the announcements in my e-mails I'm excited to offer you deep savings on hundreds of Mixed Media Products in my shop. Mixed Media, Art Journaling, Stamps and Ephemera are slashed in price in conjunction with our Summer Bucket List Event, shop the sale using this link before it expires today on 16th July.
Don't forget we are practising all of the techniques in this tutorial in the July Mixed Media Challenge at the LilyPad Forum.
All participants receive a participation coupon that they can spend in my shop, one lucky winner will be chosen at random to receive an $8 coupon and if you are following along with the annual tracker you could win a $20 coupon or maybe even a spot as a guest on my Creative Team.
Find out more in the challenge thread, enjoy the sales for the next few days and I'll chat to you soon!